

3D Models 最后更新时间: 2026年07月02日
The AMAP SDK provides OpenGL drawing interfaces, enabling developers to create custom visual elements on the map for a richer user experience.
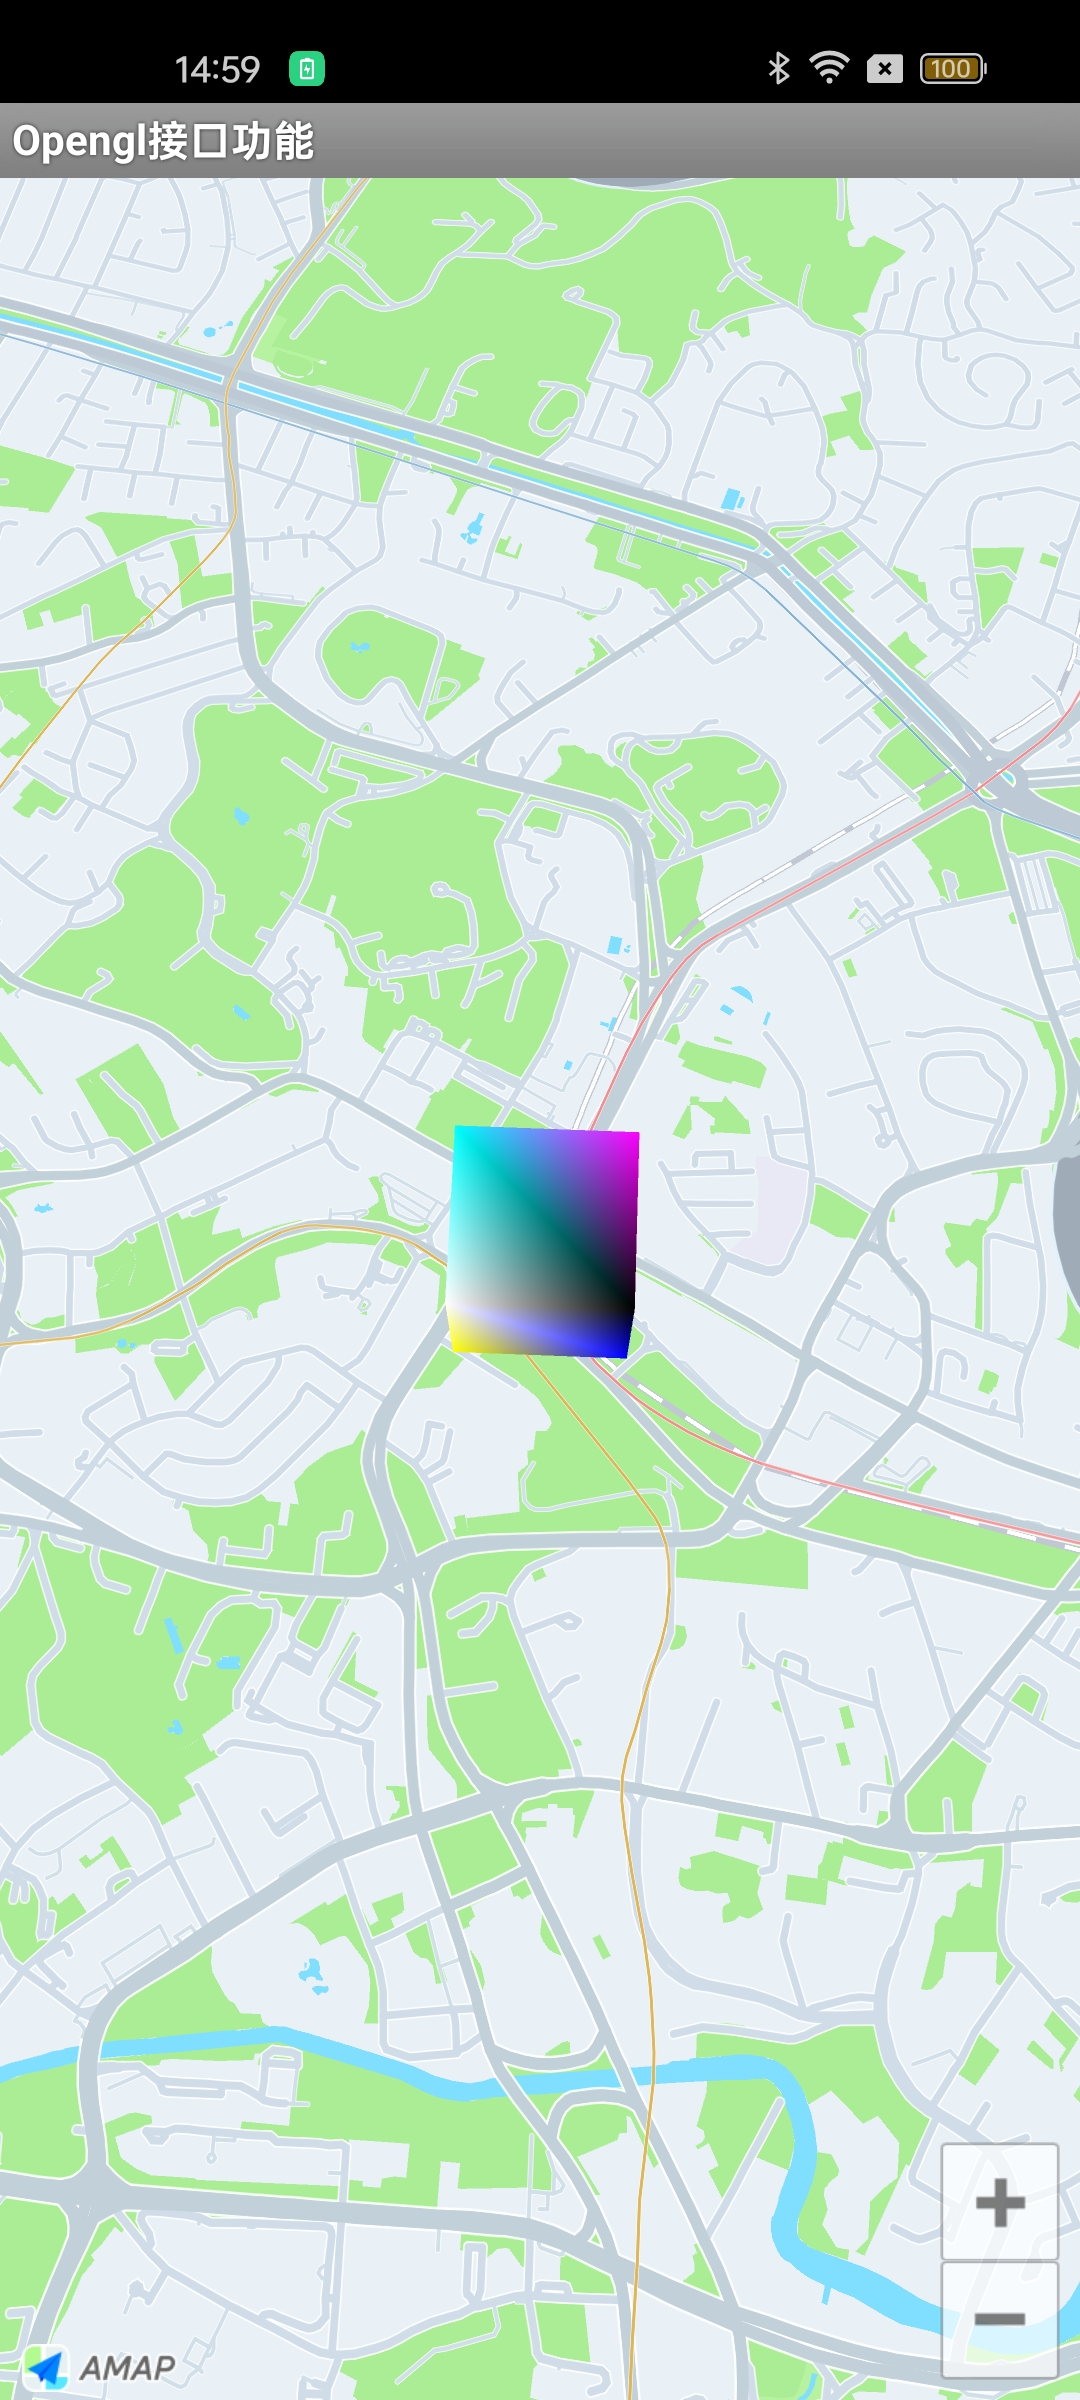
This guide demonstrates how to use the OpenGL drawing interface by drawing a cube on the map.
Step 1: Implement the Renderer
Create a class that implements the CubeMapRender interface. This class will handle the OpenGL rendering lifecycle.
public class CubeMapRender implements AMap.OnMapSurfaceRenderer {
    private AMap aMap;
    private Cube cube;
    private LatLng center = new LatLng(39.9042, 116.4074);
    private float offset = 0.0005f;
    private float[] translate_vector = new float[3];
    private float SCALE = 1.0f;
    private boolean isNeedCalPoint = false;
    private long lastTime = 0L;

    public CubeMapRender(AMap aMap) {
        this.aMap = aMap;
        aMap.moveCamera(CameraUpdateFactory.newLatLngZoom(center, 15));
    }

    @Override
    public void onSurfaceCreated(GL10 gl, EGLConfig config) {
        // Create the cube
        cube = new Cube(2, 2, 2);
    }

    @Override
    public void onSurfaceChanged(GL10 gl, int width, int height) {
        // Handle surface changes if needed
    }

    @Override
    public void onDrawFrame(GL10 gl) {
        if (cube != null) {
            if (isNeedCalPoint) {
                cube.update(translate_vector, SCALE);
                isNeedCalPoint = false;
            }
            cube.draw();
        }

        long curTime = System.currentTimeMillis();
        if (curTime - lastTime > 200) {
            lastTime = curTime;

            // Move the cube back and forth
            offset = -offset;
            center = new LatLng(center.latitude + offset, center.longitude + offset);
            // Recalculate the offset position
            calScaleAndTranslate();
        }
    }

    @Override
    public void OnMapReferencechanged() {
        calScaleAndTranslate();
    }

    private void calScaleAndTranslate() {
        // Recalculate the translation vector based on the current map center
        PointF pointF = aMap.getProjection().toOpenGLLocation(center);
        translate_vector[0] = pointF.x;
        translate_vector[1] = pointF.y;
        translate_vector[2] = 0;

        // Recalculate the scale factor
        LatLng latLng2 = new LatLng(center.latitude + 0.001, center.longitude + 0.001);
        PointF pointF2 = aMap.getProjection().toOpenGLLocation(latLng2);
        double _x = Math.abs((pointF.x - pointF2.x));
        double _y = Math.abs((pointF.y - pointF2.y));
        SCALE = (float) Math.sqrt((_x * _x + _y * _y));

        isNeedCalPoint = true;
    }
}
Step 2: Attach the Renderer to the Map
Attach your renderer implementation to the map instance.
// Assuming 'aMap' is your AMap instance
CubeMapRender renderer = new CubeMapRender(aMap);
aMap.setMapSurfaceRenderer(renderer);
Result
The following image shows the cube rendered on the map:
 开放平台